How do I create and send a slideshow to the patron?
Once you’ve created a screencast in LibraryH3lp, you can create and share a simple slideshow by selecting and optionally annotating individual frames. Slideshows are saved and shared with the patron as an animated GIF that can be played on any device.
Slideshows can be a helpful tool if you need to illustrate multiple steps in a process. They can also be useful if the patron is having difficulty viewing a screencast.
Policies and best practices
If you create and share a slideshow, follow these policies and best practices:
- Do not share any personal or private information via the slideshow.
- Do not share any login information, including the AskAway guest logins, via the slideshow.
- Communicate with the patron:
- Before creating your slideshow, you may wish to ask them first if it would be helpful for them. Let them know that you will be taking a minute or two to create and then send a slideshow and that you will share it with them as a GIF that they can view in their browser when it's ready.
- Use the Chat - Slideshow script: "Would it be helpful to see a short illustration of the process? If so, please wait a few minutes. When the slideshow is ready, I'll send you a GIF that you can view in your browser. To replay, refresh your browser tab."
- Keep slideshows short and to the point. The more slides that you include, the longer the processing time.
- Use the annotation tools to highlight actions and items where possible.
- Be mindful of other patrons that you’re helping and continue to communicate actively with them via chat.
How To
To create and send a slideshow as a GIF, follow these steps:
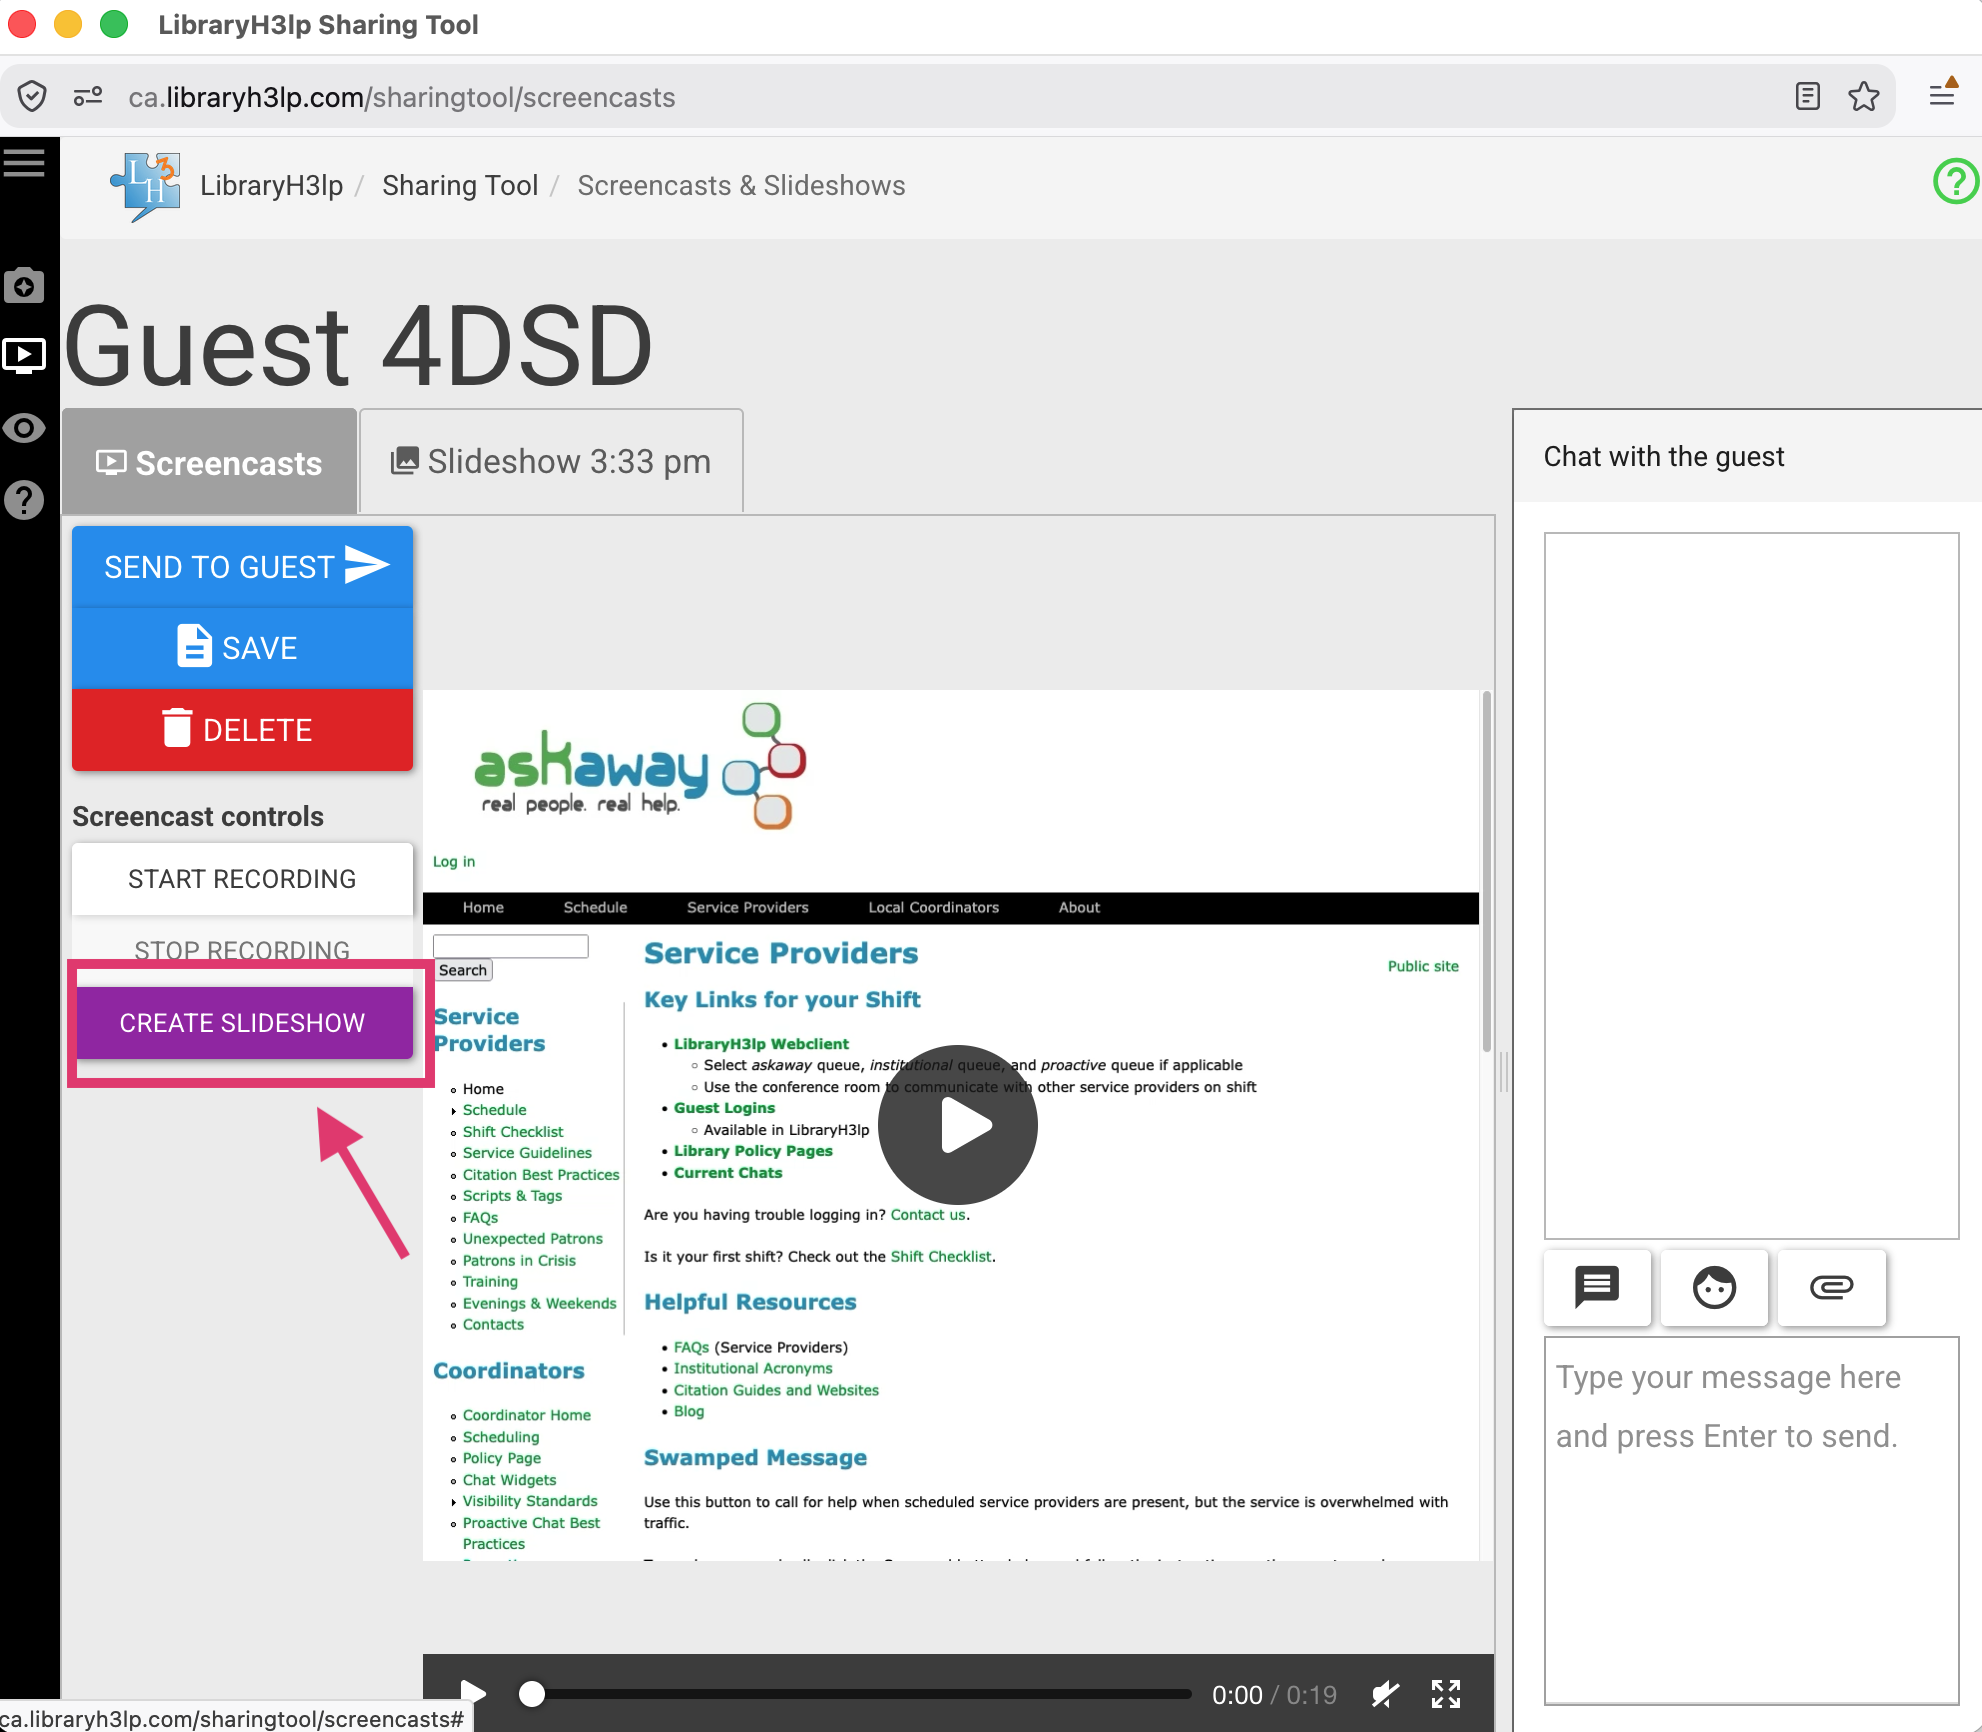
1. After you’ve recorded your screencast, click the “Create Slideshow” button.
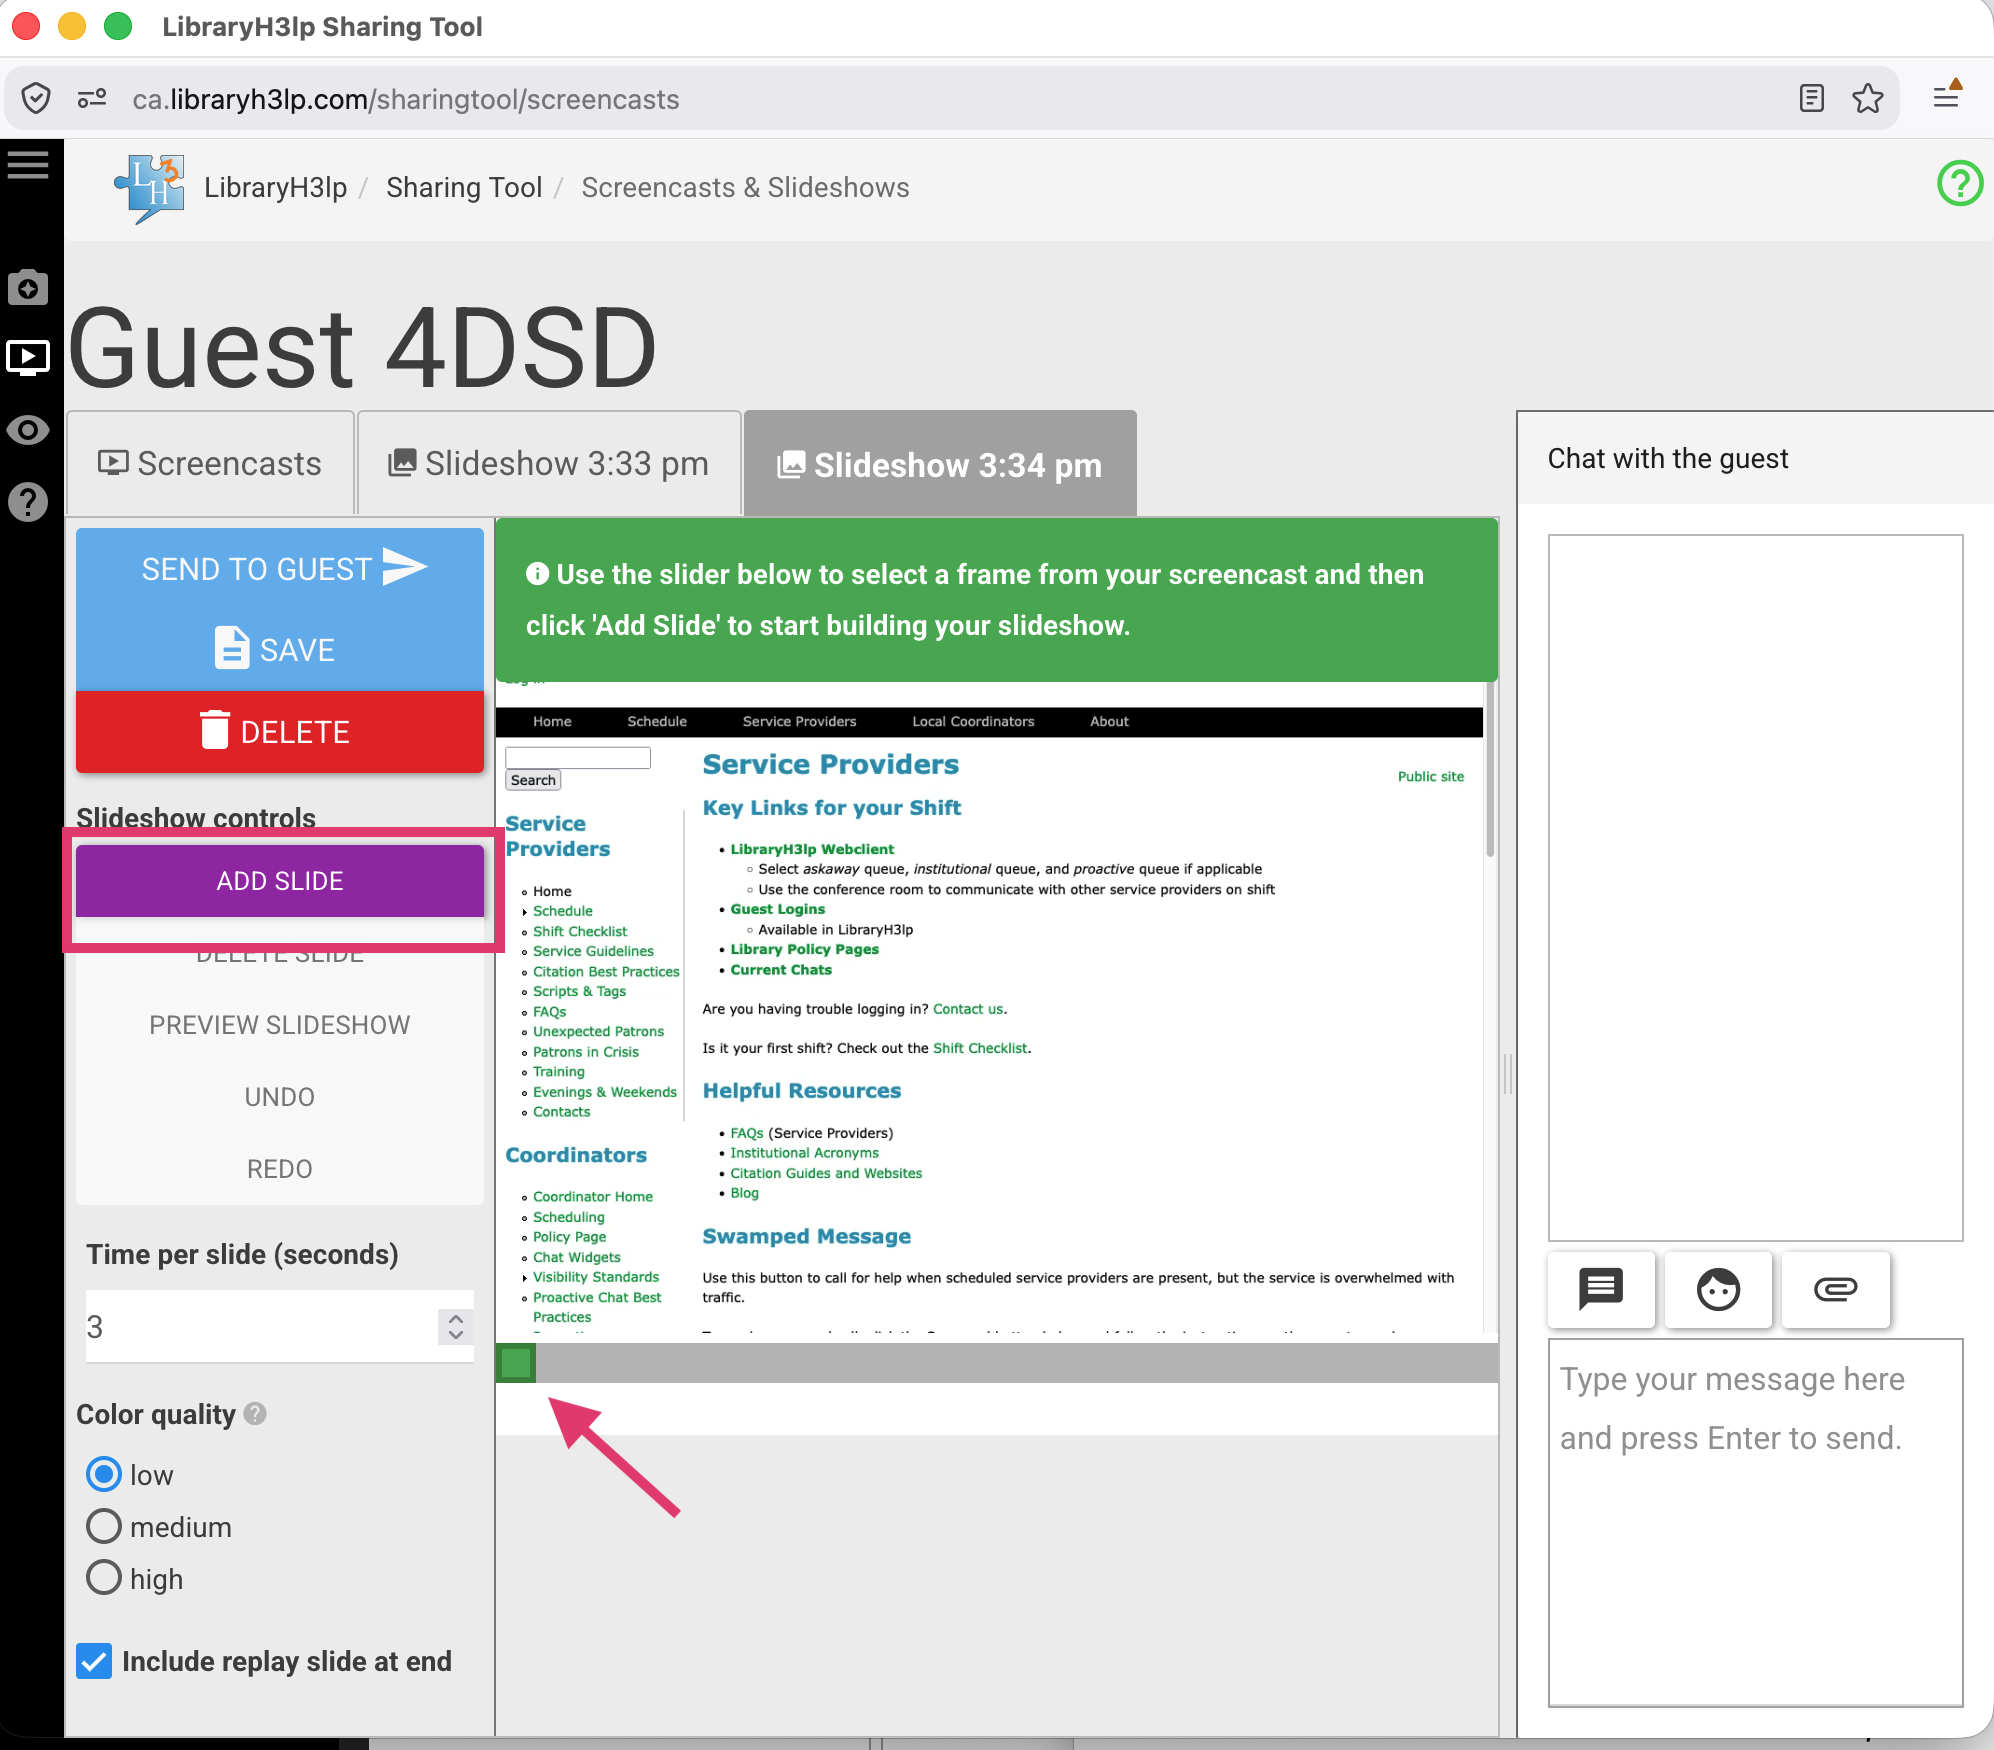
2. Use the green slider to navigate through the frames and select individual frames to create your slideshow. Click “Add Slide” to add a chosen frame to your slideshow.
- Note: If it’s a longer recording, you may initially see a blank screen. Start scrolling through the recording to load the video and select individual frames.
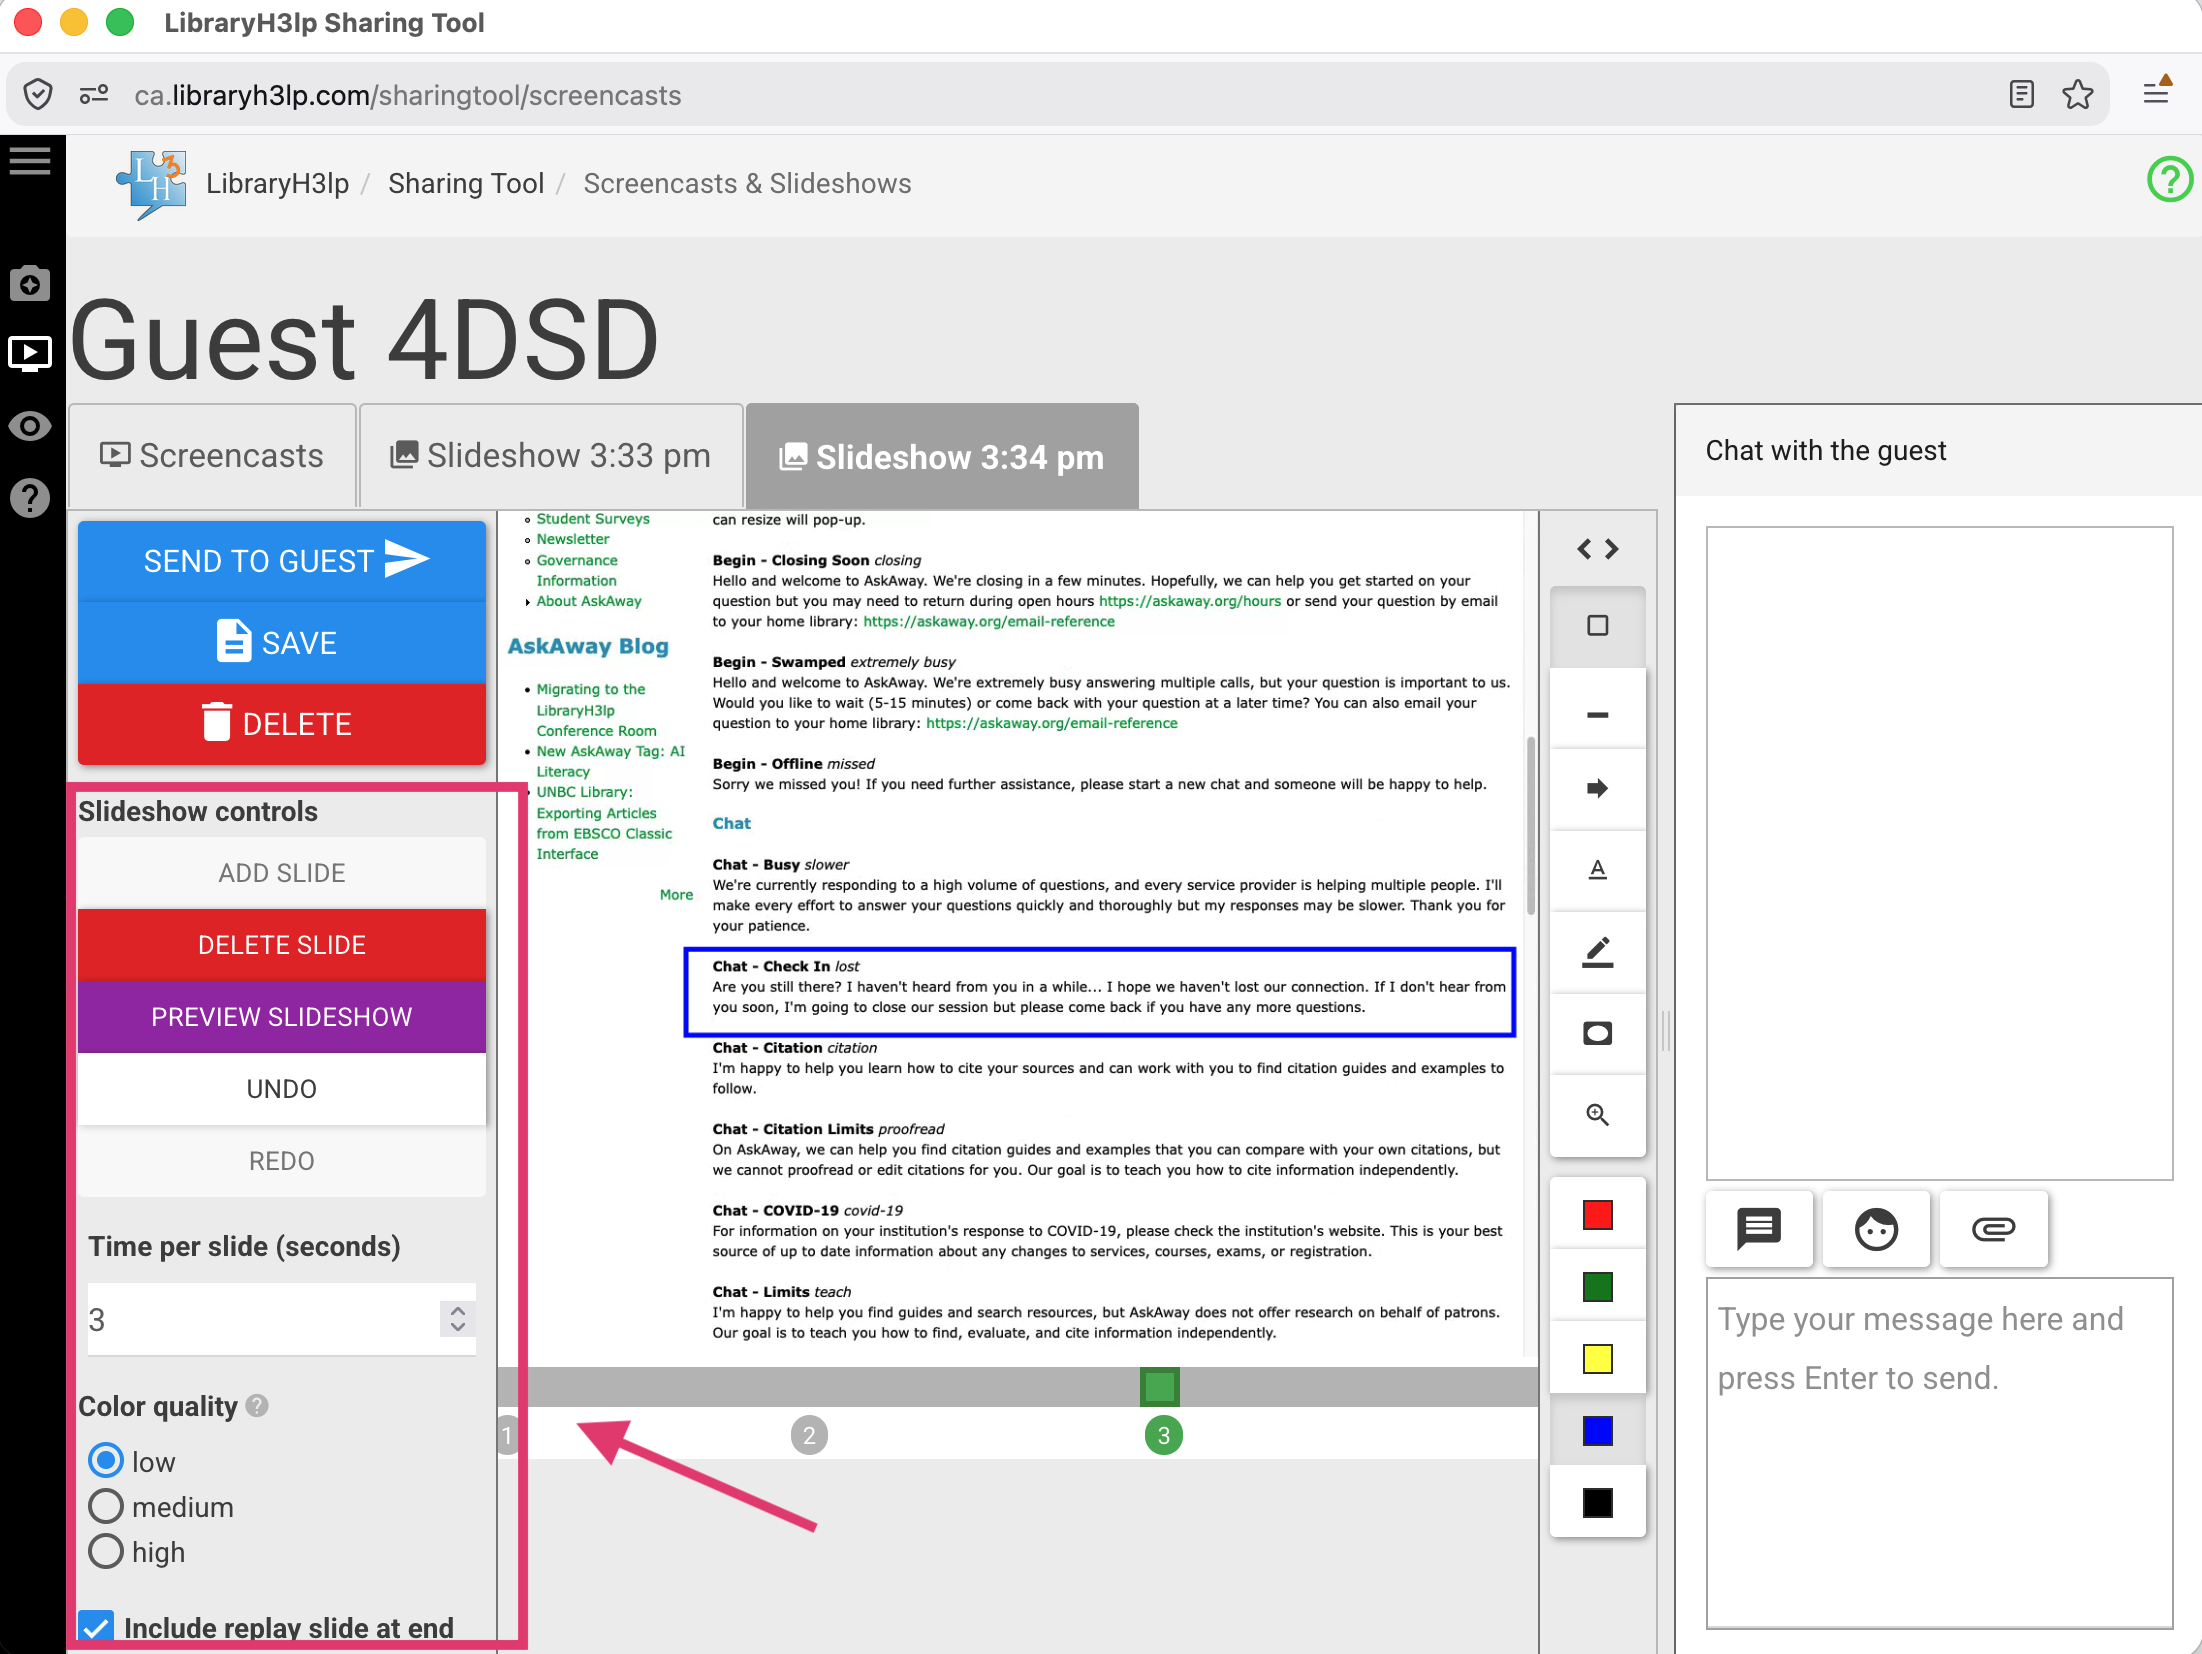
3. You can annotate each slide with the editing tool, just like screenshots, to add text, arrows, highlights, etc. (Use the “Undo” button to undo/remove annotations). You can customize the following:
- Time per slide (seconds)
- Color quality
- We recommend leaving this at “low” as it will speed up the time it takes to generate your slideshow, and it should not significantly affect the color quality or resolution of the images.
- Include replay slide at the end
- This slide will show at the end to indicate the patron can hit the refresh button on their browser to replay the GIF.
- You can also delete slides and preview your slideshow before sending.
4. When the slideshow has been sent, close the Sharing Tool and return to your chat(s) in the LibraryH3lp webclient.
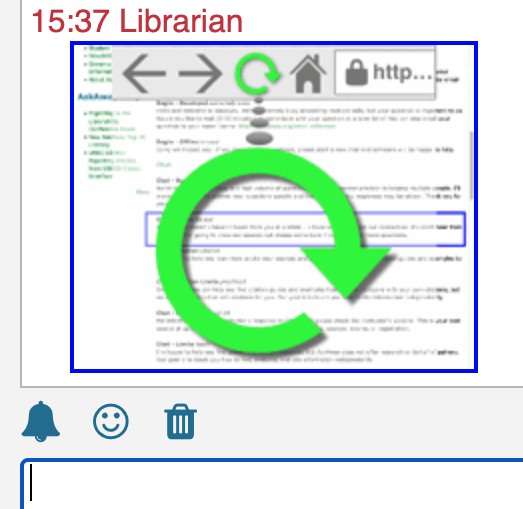
5. On their end, the patron will receive a thumbnail that they can click on to open the slideshow in a new tab. Ask them if they are able to view it okay, and let them know that they can view it again by refreshing their browser tab.